PebbleLock is designed for any situation around the home where you want...
The Challenge: Crafting a Practical and Enjoyable Firepit Space in Your Backyard
Creating a safe, practical outdoor space for gathering around a firepit can be tricky—especially when you factor in Australia’s unpredictable weather. Whether you’re hosting a BBQ on a sweltering summer evening or huddling around a brazier on a cool autumn night, the last thing you want is for rain to turn your backyard into a muddy mess.
We’ve all experienced those moments—preparing for a garden party, only to have the ground turn boggy because of a sudden downpour. Just like at these events, your firepit area is where everyone will gather. You’ll want to make sure it’s a dry, stable surface that can handle any weather—without leaving guests stuck in the mud.
Outdoor firepits are an age-old tradition for bringing people together. Today, we’re not sitting around fires in caves, but in our own backyards, enjoying food, drinks, and great company. While it’s easy to pick up a brazier from your local store, creating a permanent, weatherproof surface around your firepit takes a bit more planning. That’s where Strol PebbleLock Permeable Pavers come in—a fantastic DIY solution for building a durable, permeable paving area that lets you and your mates enjoy the outdoors year-round.
The Solution: PebbleLock Permeable Pavers—Enhancing Your Backyard with Ease
PebbleLock Permeable Pavers are an innovative paving solution designed to combine functionality with sustainability. These pavers feature a unique honeycomb structure made from 100% recycled plastic, which holds decorative pebbles securely in place. The key benefit of PebbleLock is its ability to allow water to permeate through the surface, ensuring excess rainwater drains directly into the soil below, instead of pooling or running off and causing erosion.
Designed with both ease of installation and environmental impact in mind, PebbleLock creates a hard, stable surface much like concrete or asphalt, but without the negative environmental effects. Unlike traditional paving, which can cause water run-off that leads to soil erosion or overburdening of stormwater systems, PebbleLock allows water to naturally filter through the layers beneath it. This means you can have a patio area that stays dry and usable even after heavy rain, all while supporting the natural water cycle in your backyard.
It’s also versatile: PebbleLock can be easily cut to fit any shape or design, making it perfect for creating pathways, steps, or seating areas in your outdoor space. Whether you’re looking to pave around the firepit or create a permeable patio, PebbleLock offers an eco-friendly, low-maintenance solution that enhances both the appearance and function of your backyard.
Here’s why PebbleLock is ideal for creating a firepit area:
- Easy to install: Perfect for DIY enthusiasts, PebbleLock is simple to lay out and customise to fit any space.
- Cost-effective: A budget-friendly alternative to traditional concrete or asphalt.
- Water permeable: Excess rainwater filters through the pavers, soaking into the soil and leaving the surface dry and ready to use, even after a downpour.
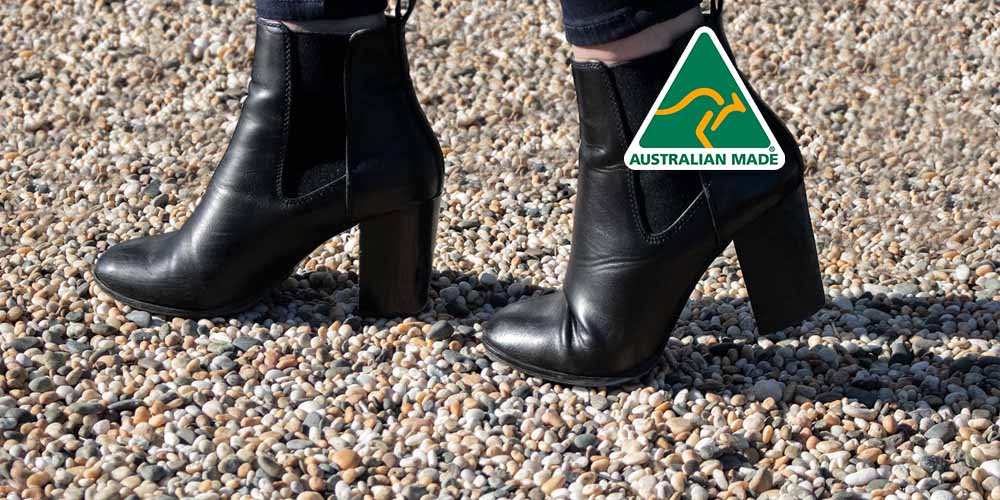
- Eco-friendly: Made from 100% recycled plastic, PebbleLock is a greener option for backyard paving.
- Durable honeycomb design: The panels lock decorative pebbles in place, creating a sturdy and natural-looking surface that feels as solid as concrete, but is far better for the environment.
- Sustainable water management: Instead of water running off and eroding your garden, it gently feeds back into the surrounding soil, helping prevent both flooding and soil degradation.
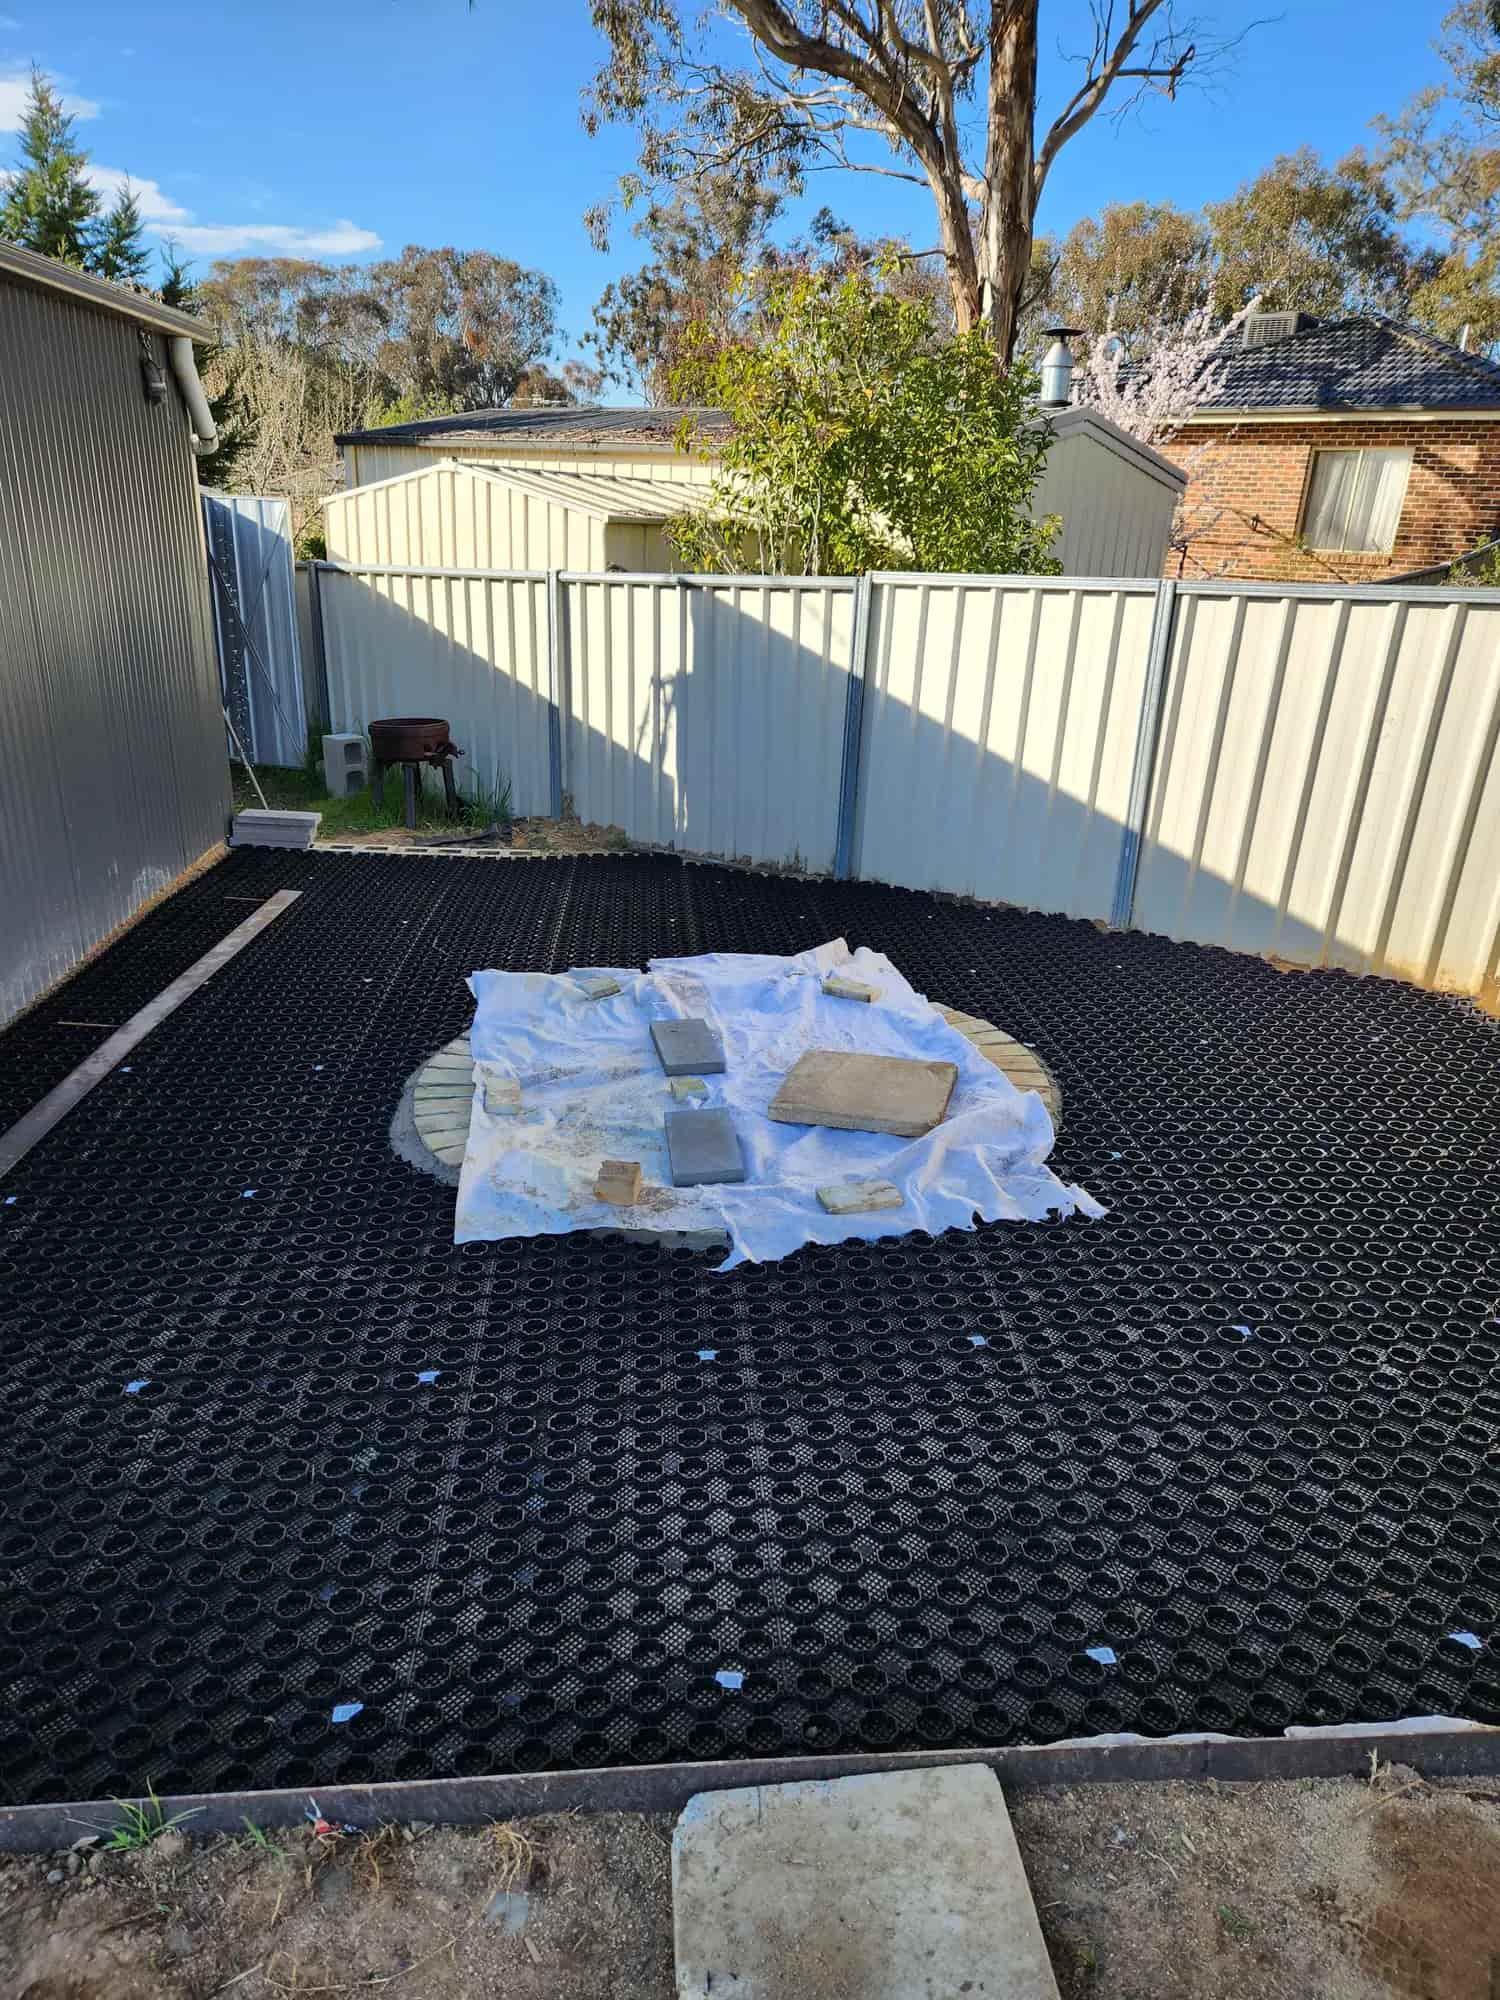
To get the best results, PebbleLock is installed over a layer of geotextile fabric and drainage aggregate. This ensures proper drainage and prevents sinking, even in areas with heavy foot traffic. And when it comes to aesthetics, PebbleLock can be cut to suit any shape or layout, making it versatile for pathways, steps, and seating areas. For Jake’s project, he turned an unused corner of his yard into a functional, weatherproof space for his firepit, complete with a ring of bricks around his brazier.
Step-by-Step Guide to Building a Firepit Area with PebbleLock Pavers
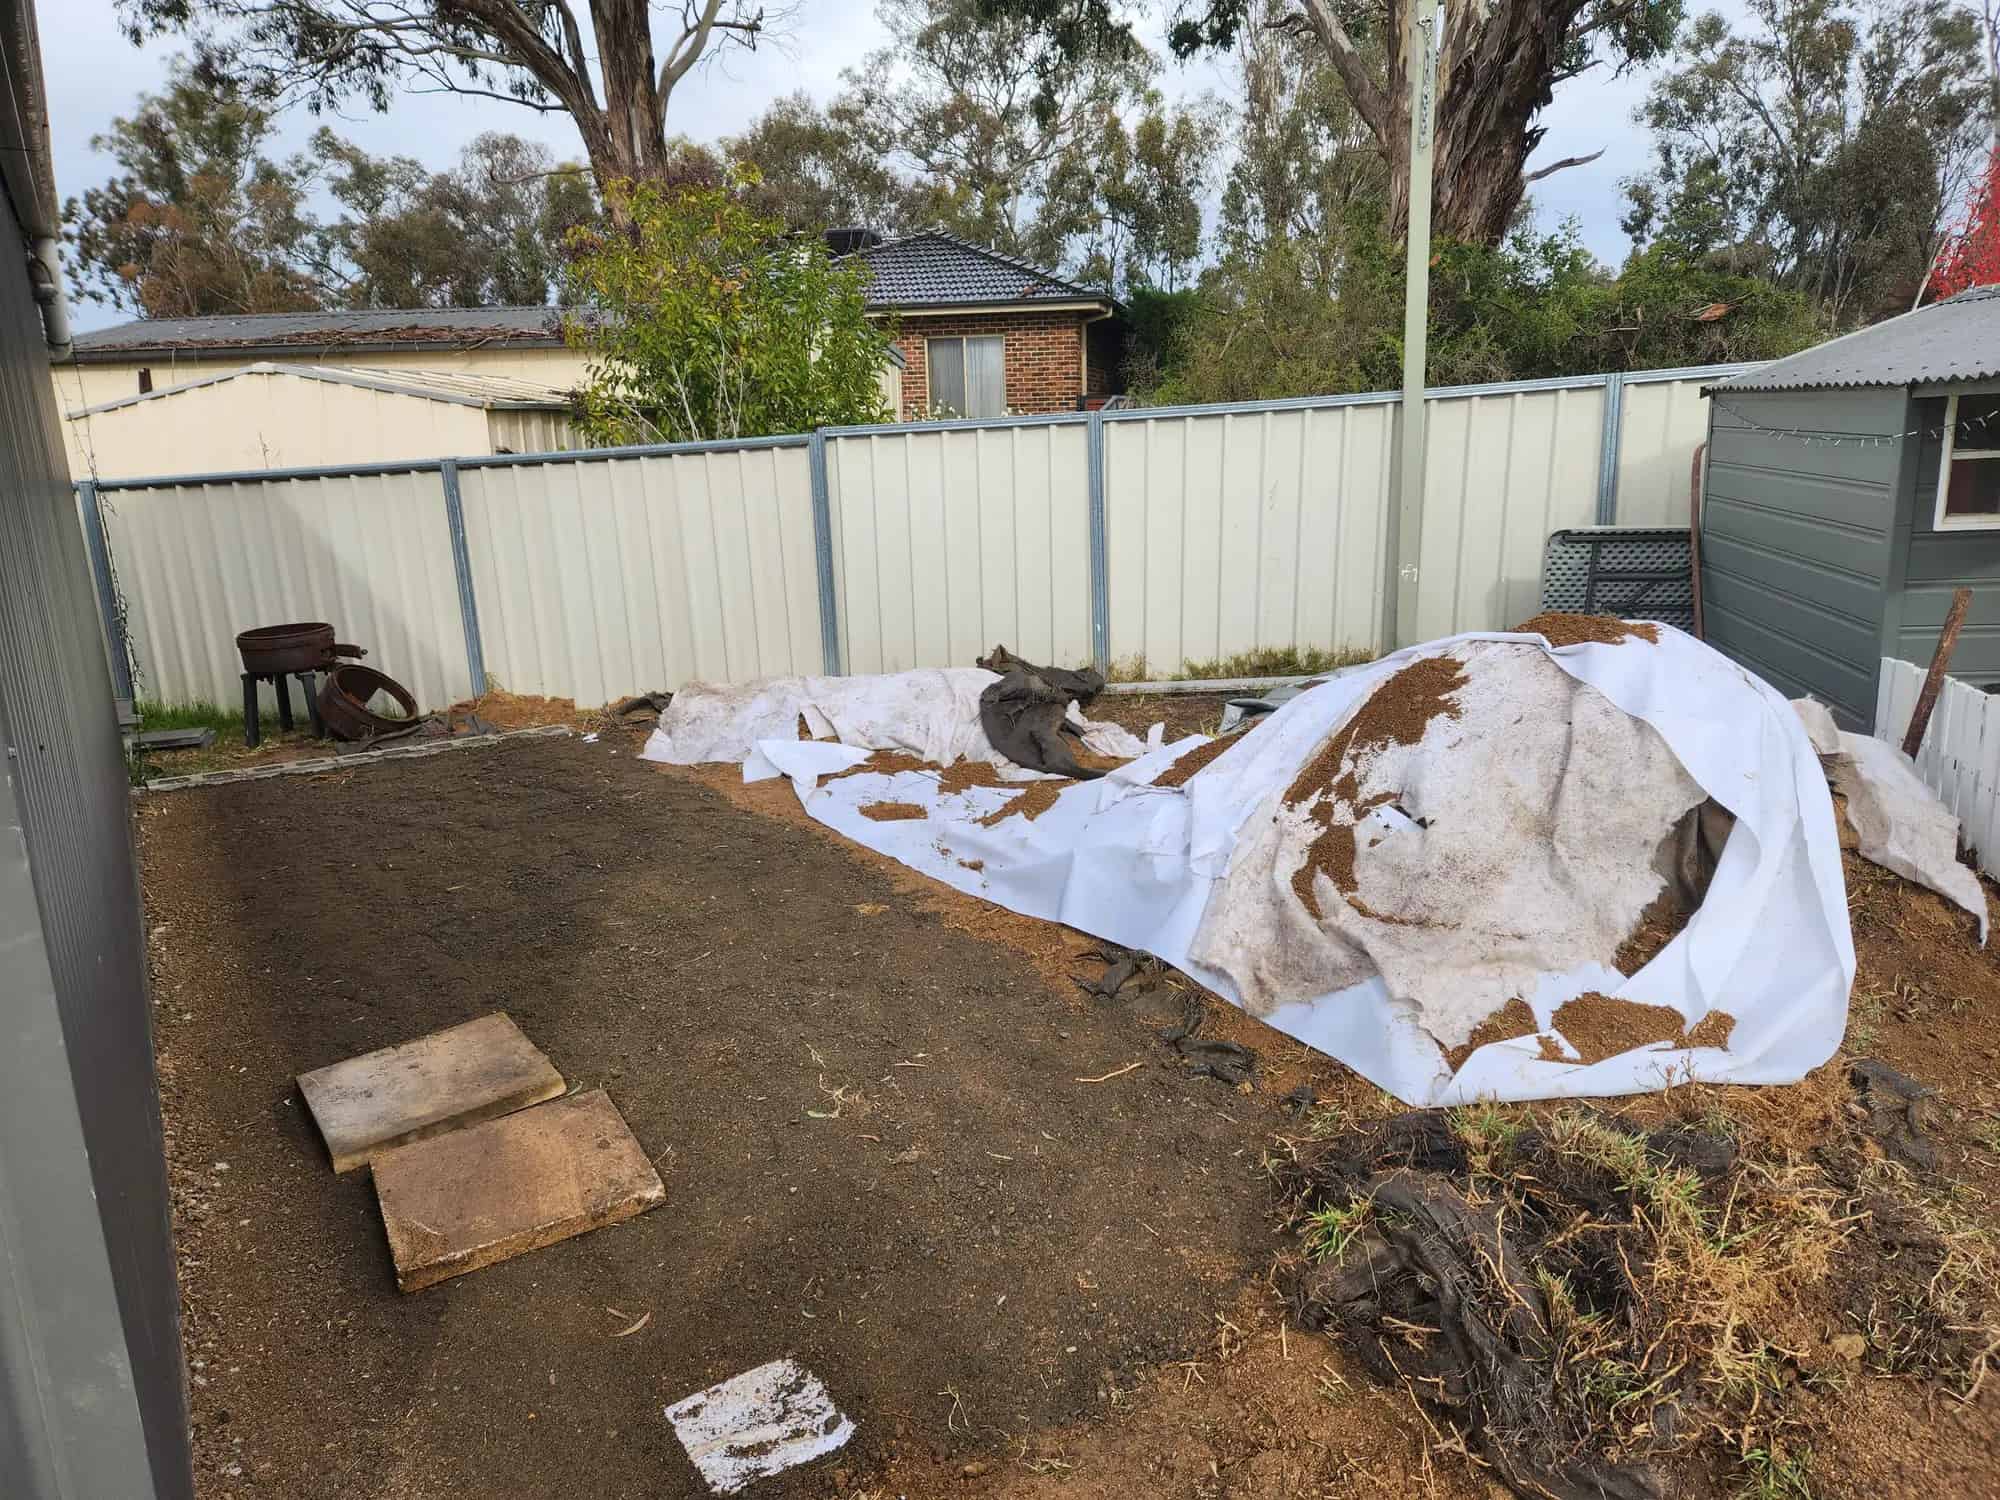
- Excavate: Mark out the area for your firepit and excavate 100-200mm below ground level, making the surface as flat as possible with a slight slope towards your drainage.
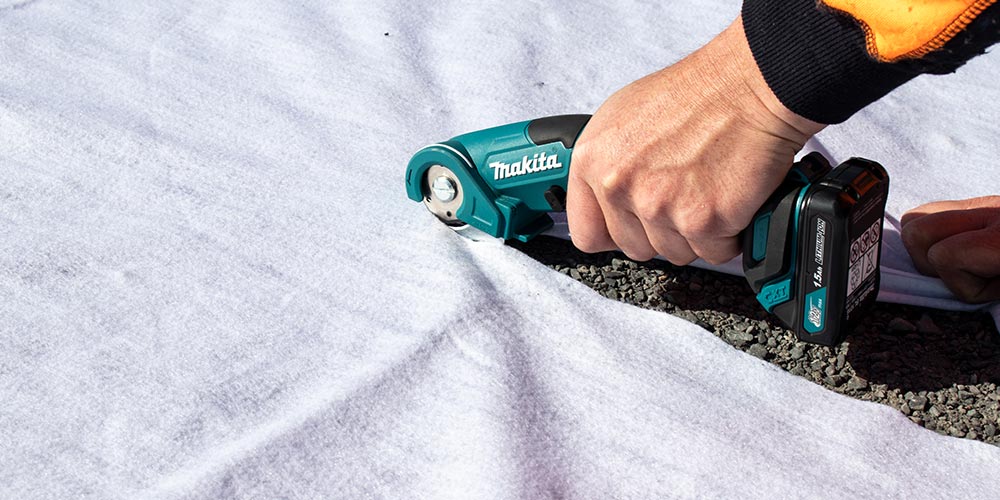
- Install Geotextile Fabric: Lay SureTex Geotextile over the soil to separate it from the aggregate layers. This prevents dips, ruts, and sinking, while allowing water to filter through into the soil.
- Add Drainage Aggregate: Spread 50-100mm of drainage aggregate (GAP20) evenly over the geotextile, then compact it. Add a finer layer of GAP7 or crusher dust to create a smooth surface for the PebbleLock pavers.
- Lay PebbleLock Pavers: Start laying the pavers from a corner and work your way out. PebbleLock’s clip system makes it easy to lock each panel in place. If needed, cut the pavers to fit around any curves or tight spots.
- Finish with Decorative Stones: Once the pavers are in place, cover them with 8-14mm decorative stones. Sweep the stones over the surface until the pavers are completely hidden, creating a seamless, natural look.
The Result: A Year-Round, Functional Firepit Area
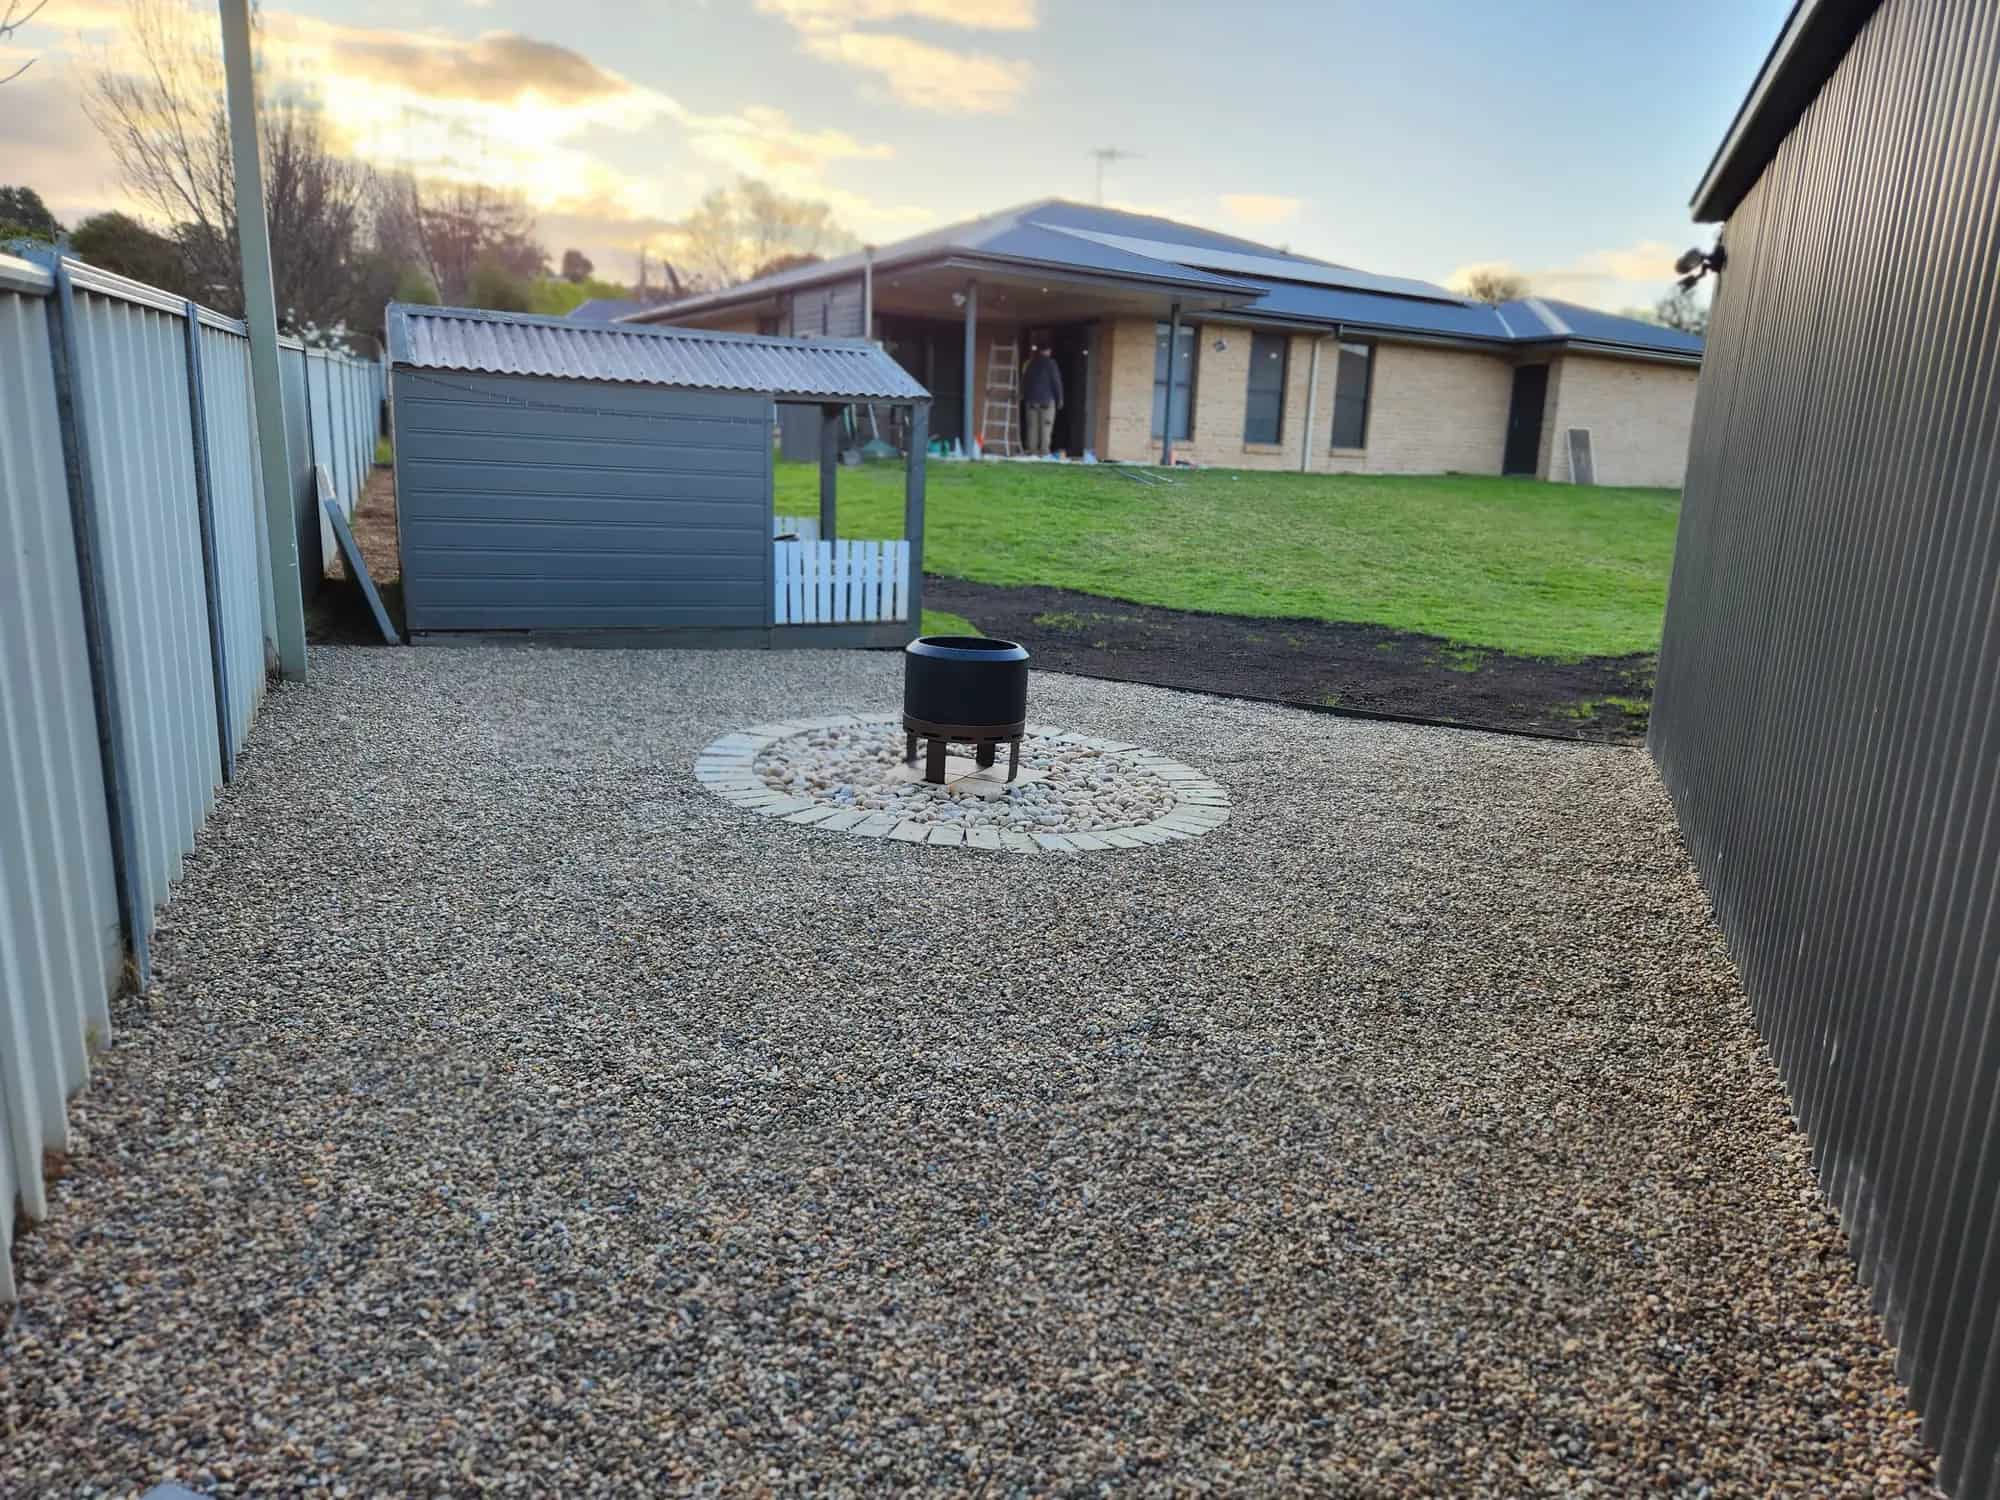
Jake found the process of installing PebbleLock Pavers straightforward and satisfying, transforming an unused section of his property into a stable, attractive patio area perfect for his firepit and his mates. Thanks to the PebbleLock permeable design, rainwater is absorbed into the ground, reducing water build-up around his sheds and improving drainage in the yard.
Australia’s hot summers and heavy rains can make water management in outdoor spaces challenging. With PebbleLock, Jake now has a sustainable, dry, and permeable surface, meaning he and his family can enjoy the firepit area no matter the weather. Whether rain or shine, PebbleLock has helped Jake create a backyard space that’s not only functional and stylish but also environmentally friendly—truly enhancing tomorrow.
Now, it’s your turn! Get started on your DIY firepit project with PebbleLock Permeable Pavers, available at your local Bunnings store.
Geotextile will help prevent your next paving project from failure by separating...
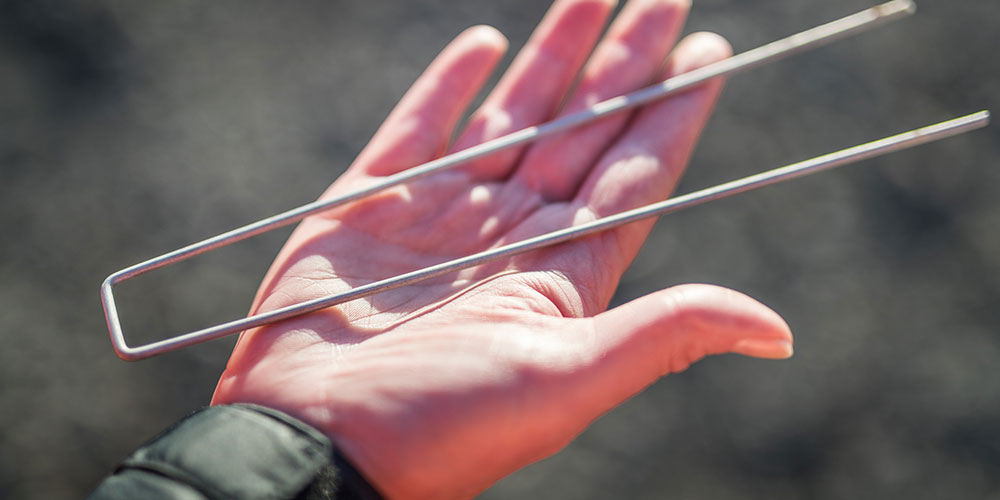
Weedmat Pins are ideal for securing weedmat, geotextiles, coconut matting and are...